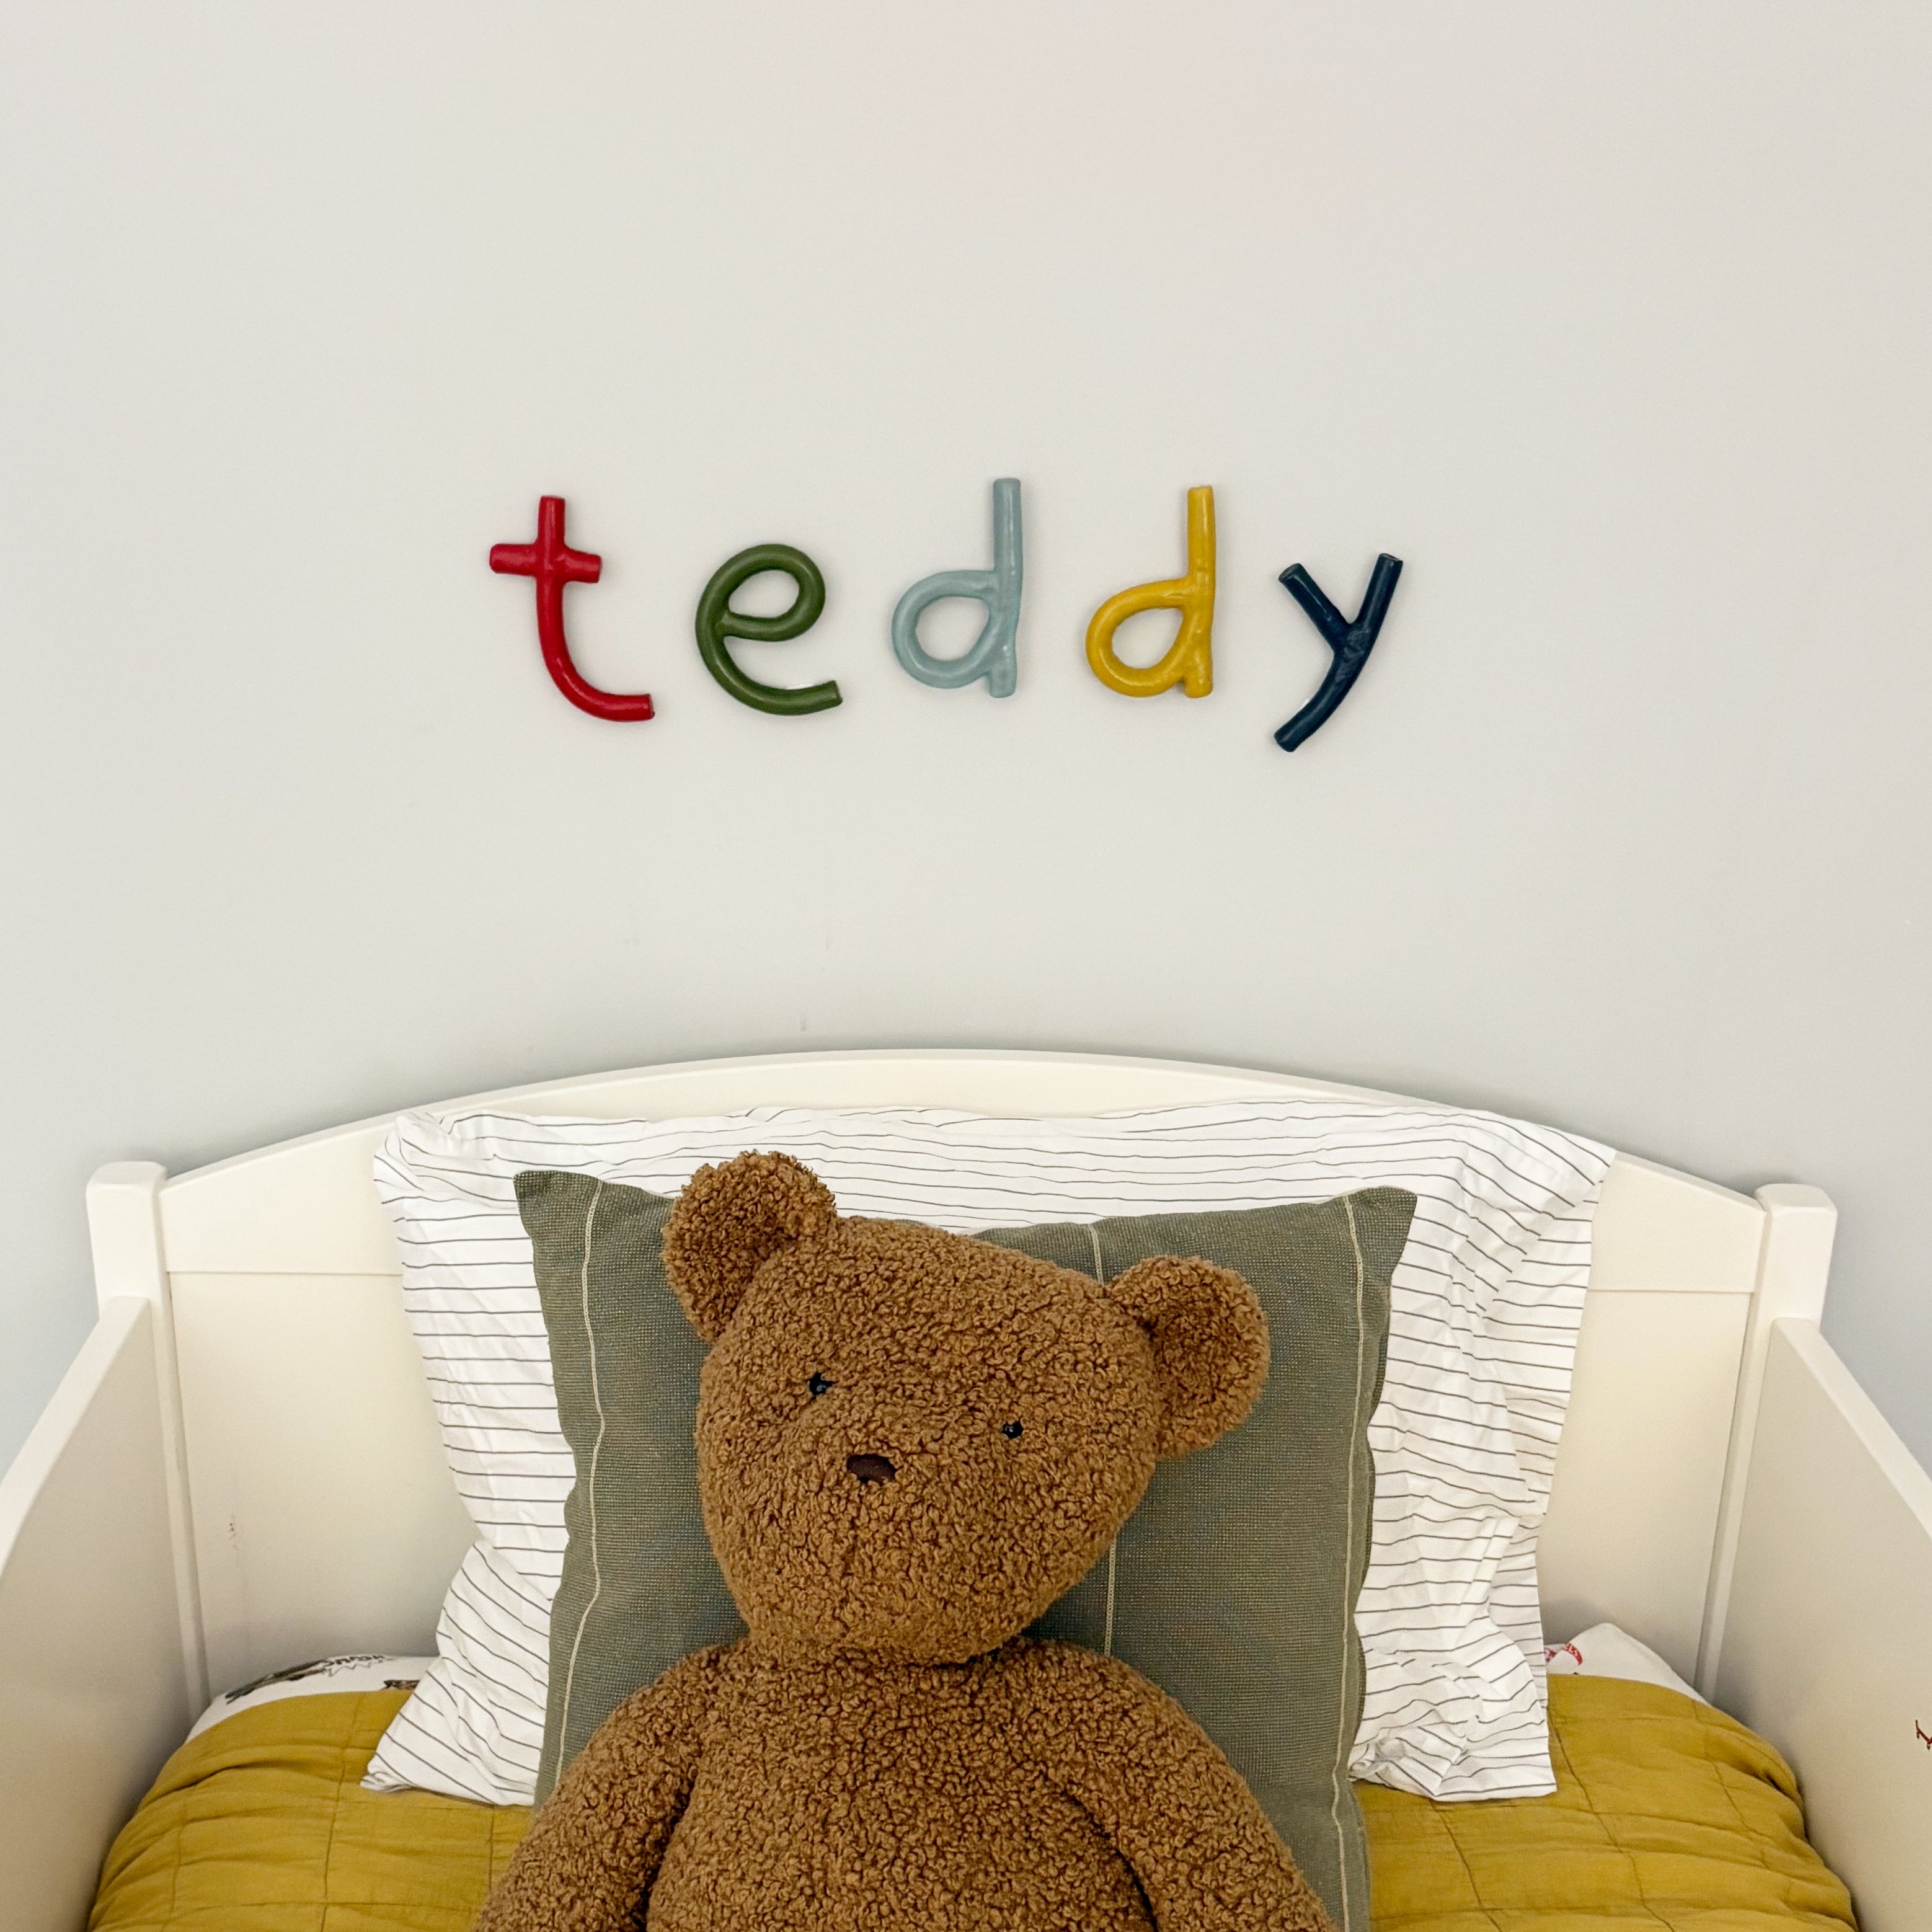
How to Install Our Letters
With Removable Adhesive Strips:
This is the fastest and easiest way to install your wall letters. Hook-and-loop style adhesive strips work best. These can easily be trimmed down into smaller pieces that fit the back of your letters. Use 3-4 smalll adhesive pieces per letter and adhere to the wall following package instructions.
With Nails:
This option works well for those looking for a more permanent installation, or those with textured walls that don't accept adhesive strips well. Creating a template for each letter can help assist with placement. To create template, place letter on a piece of paper, tracing around letter to outline its shape and size. Mark placement of nails by flipping letter & paper over, or by inserting your pencil in from the side. Tape paper up on the wall and adjust until you have your desired letter placement. Find where you marked the nail placement, and hammer right through the paper into the wall. Pull paper away, hang letters, and enjoy your new personalized decor!
Some tips on how to install our handmade clay wall letters